Kate doesn’t do excess… she doesn’t need to.
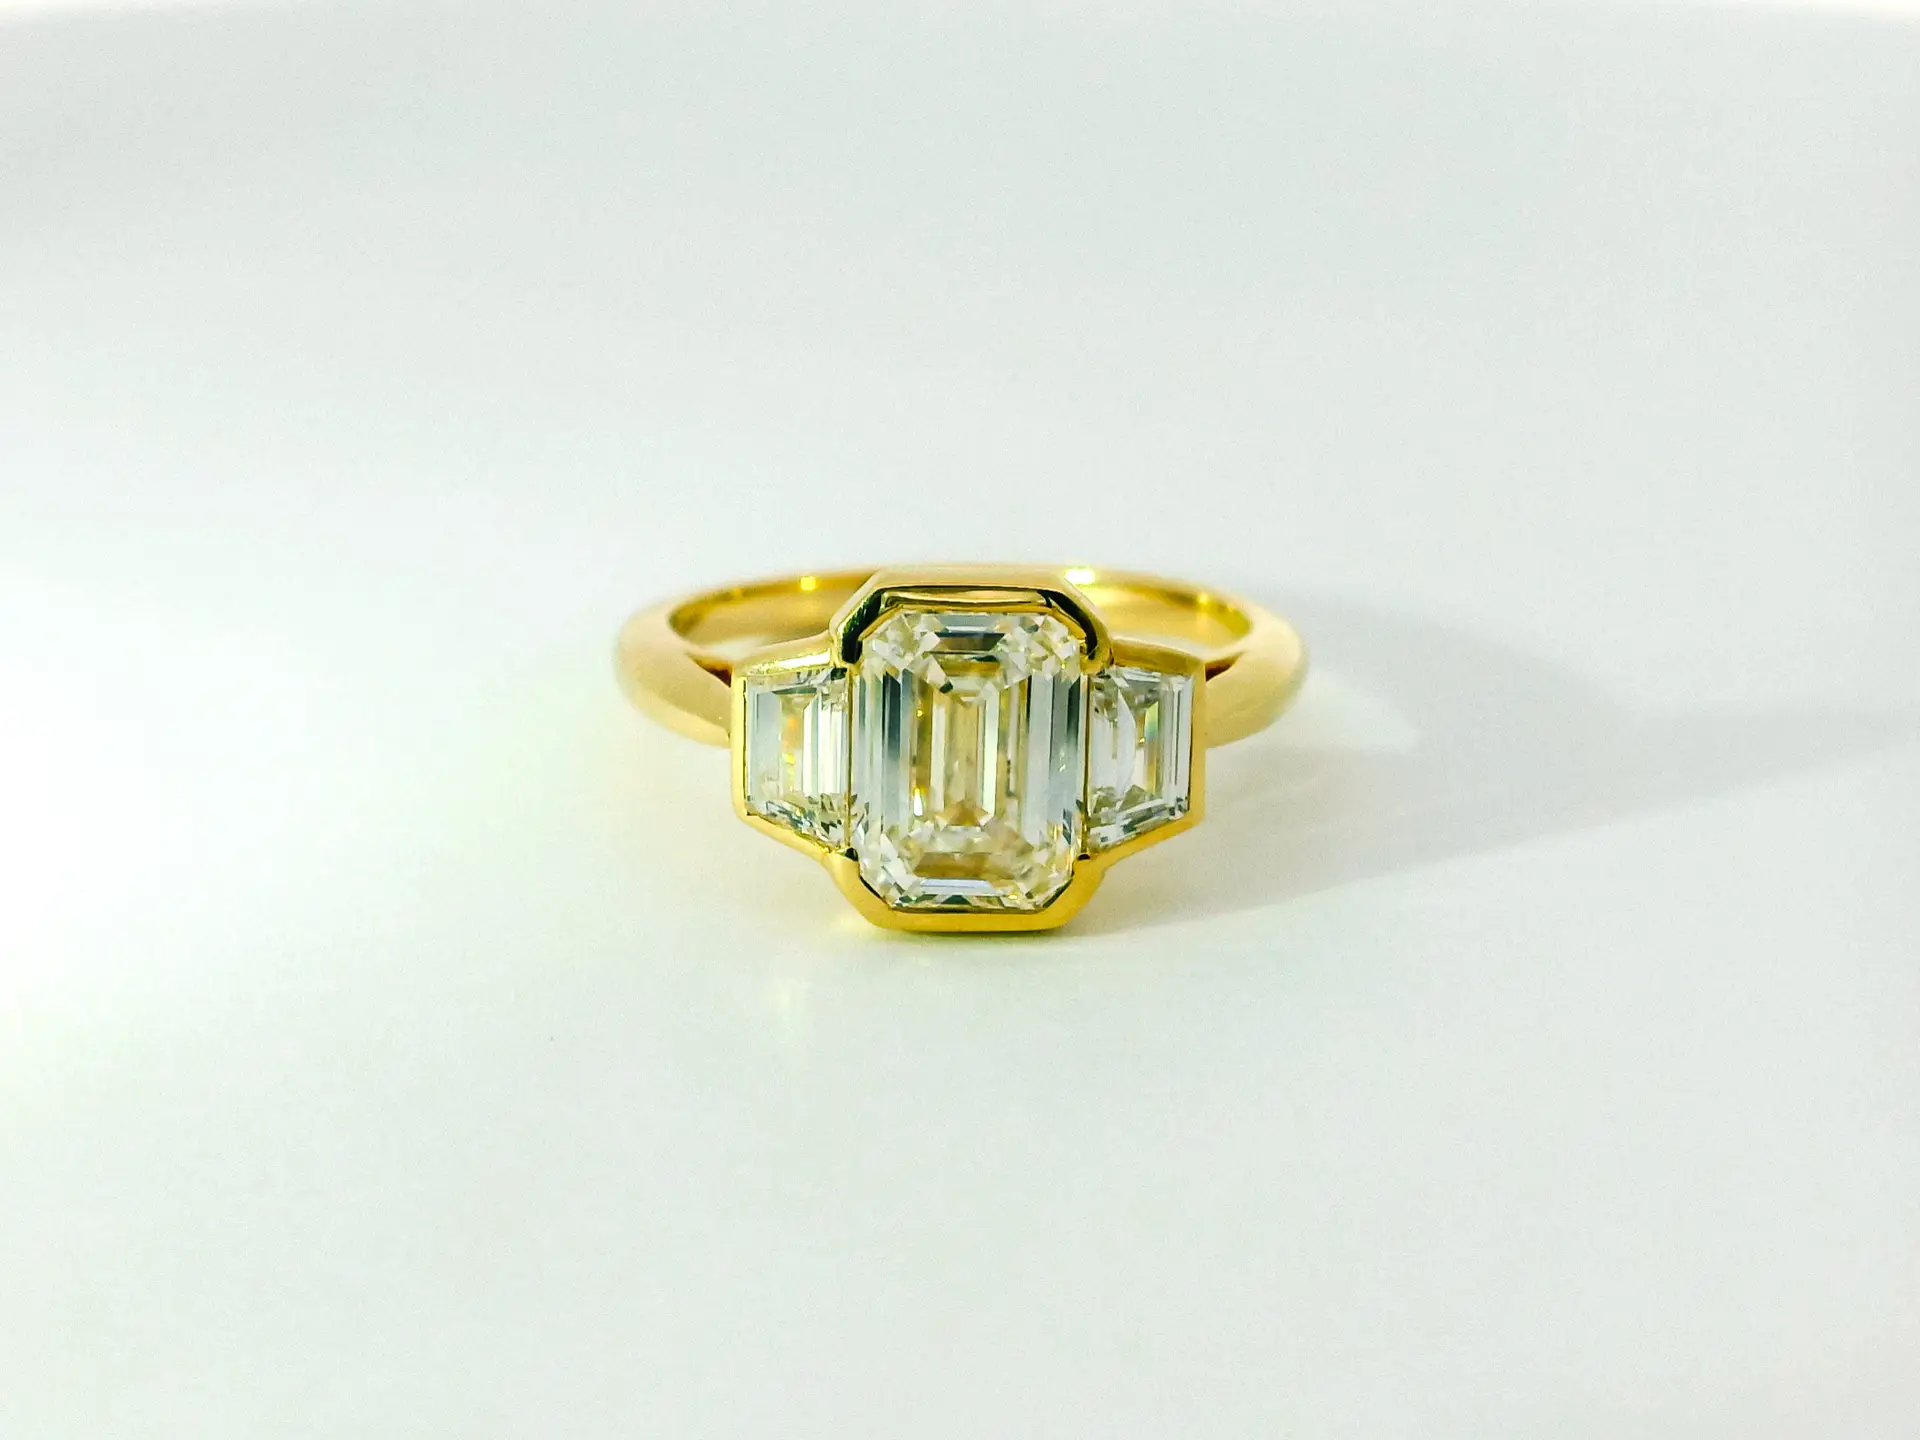
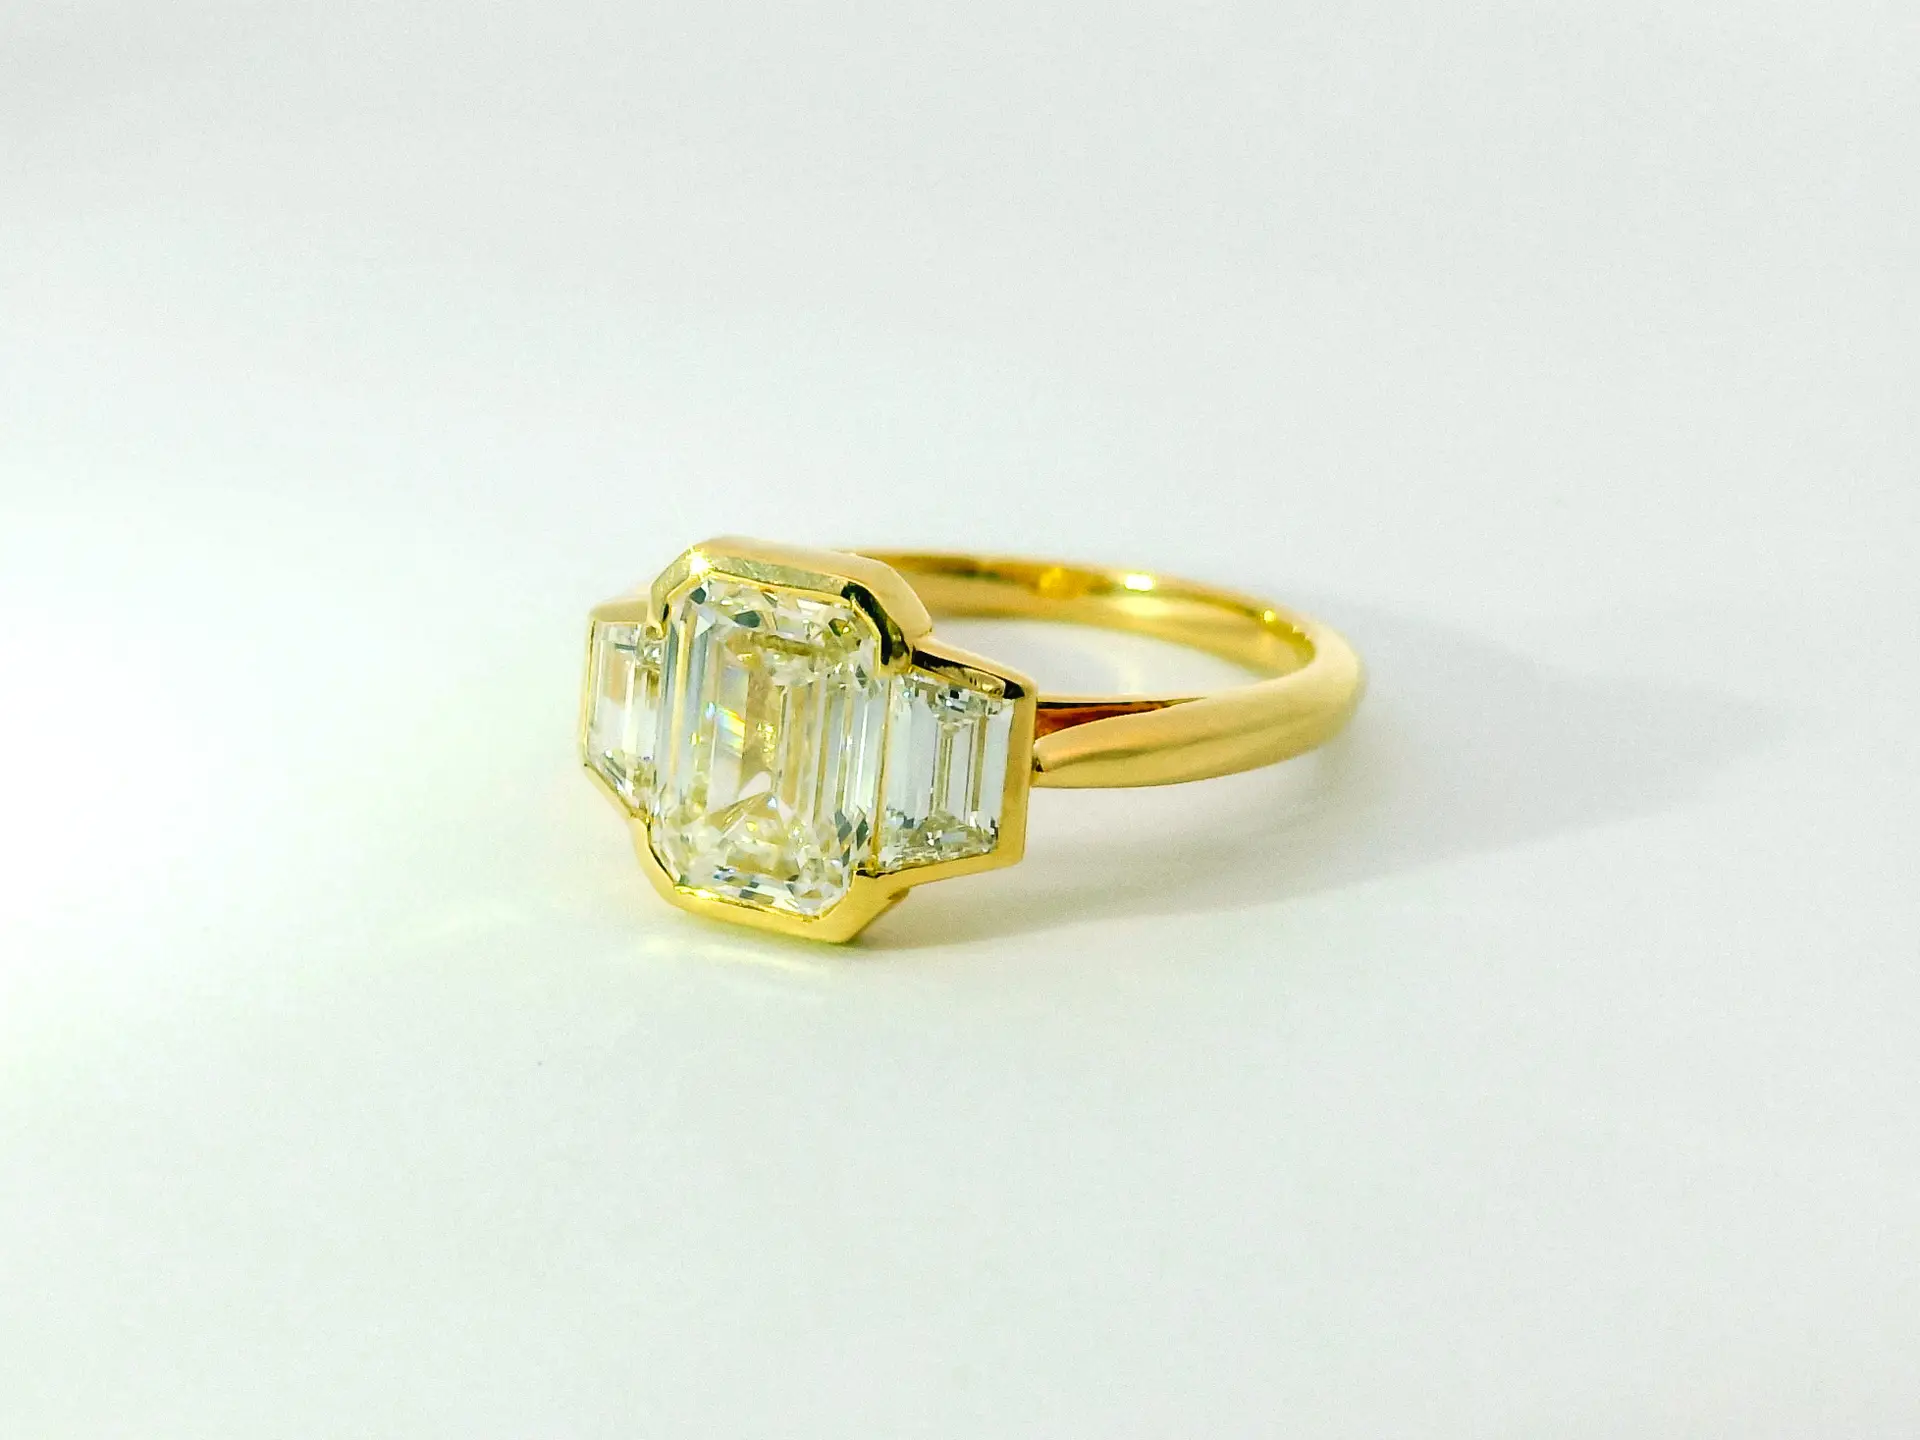
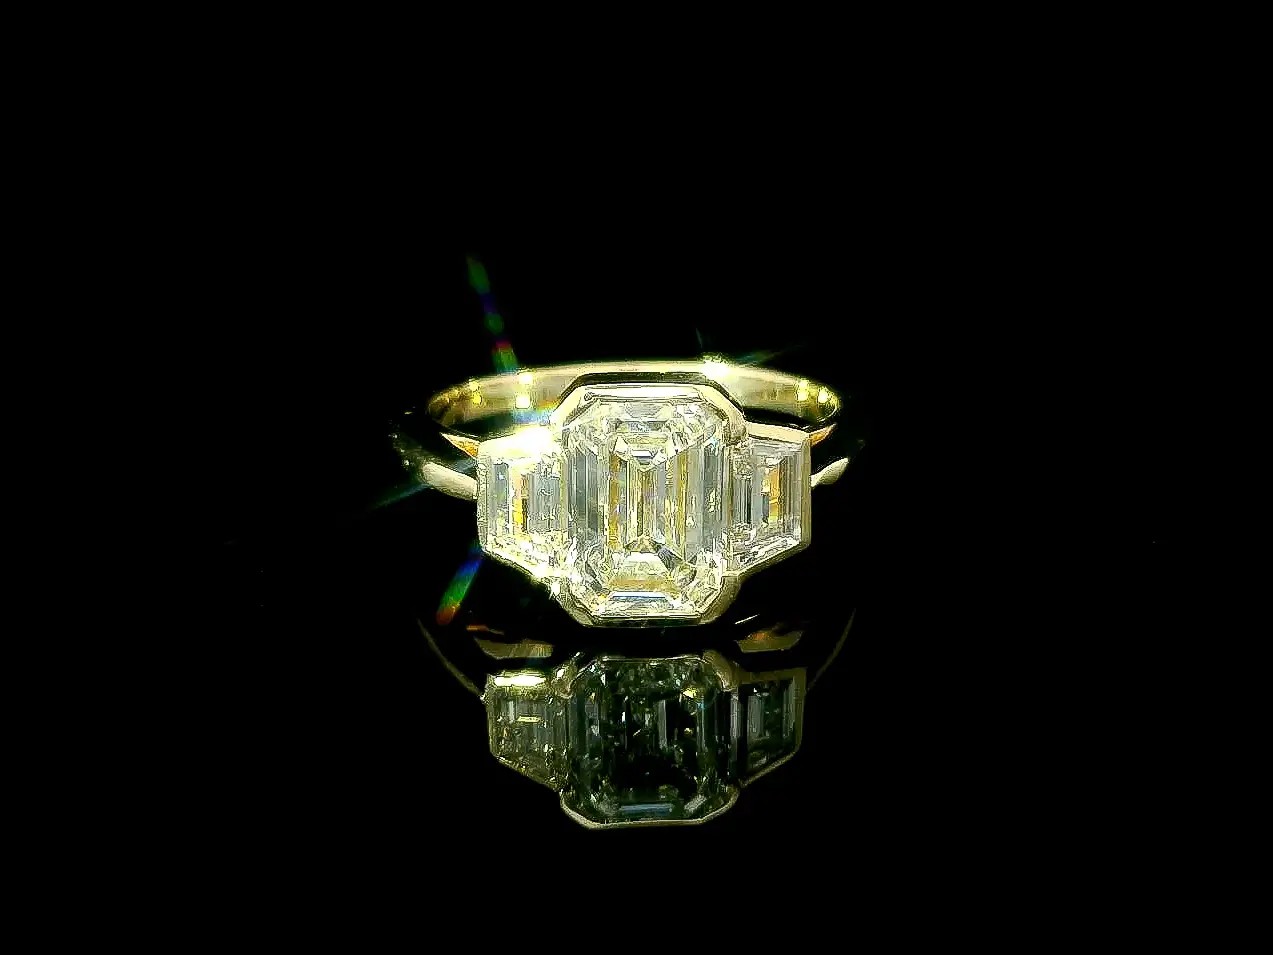
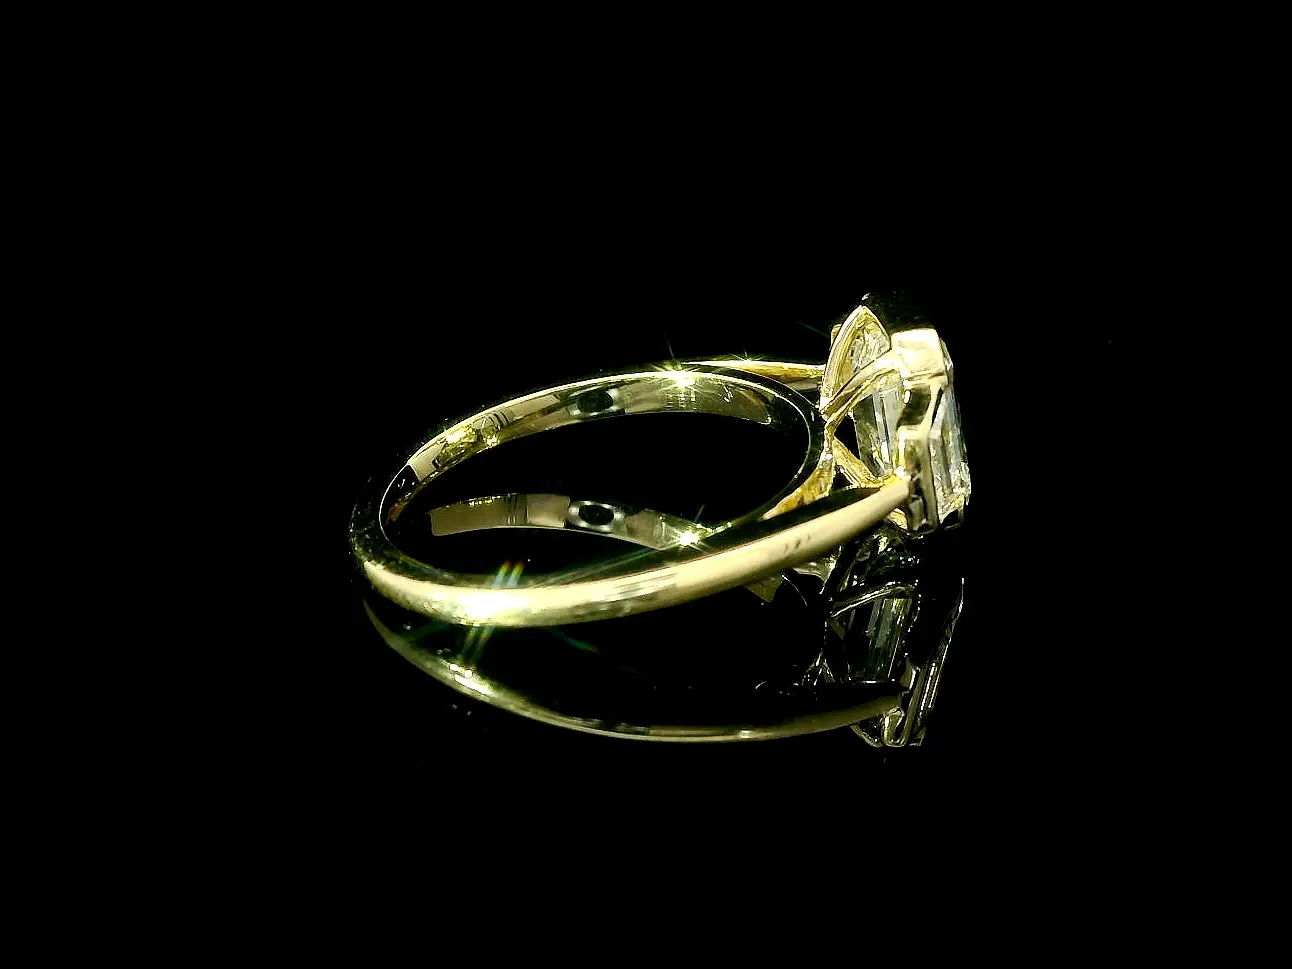
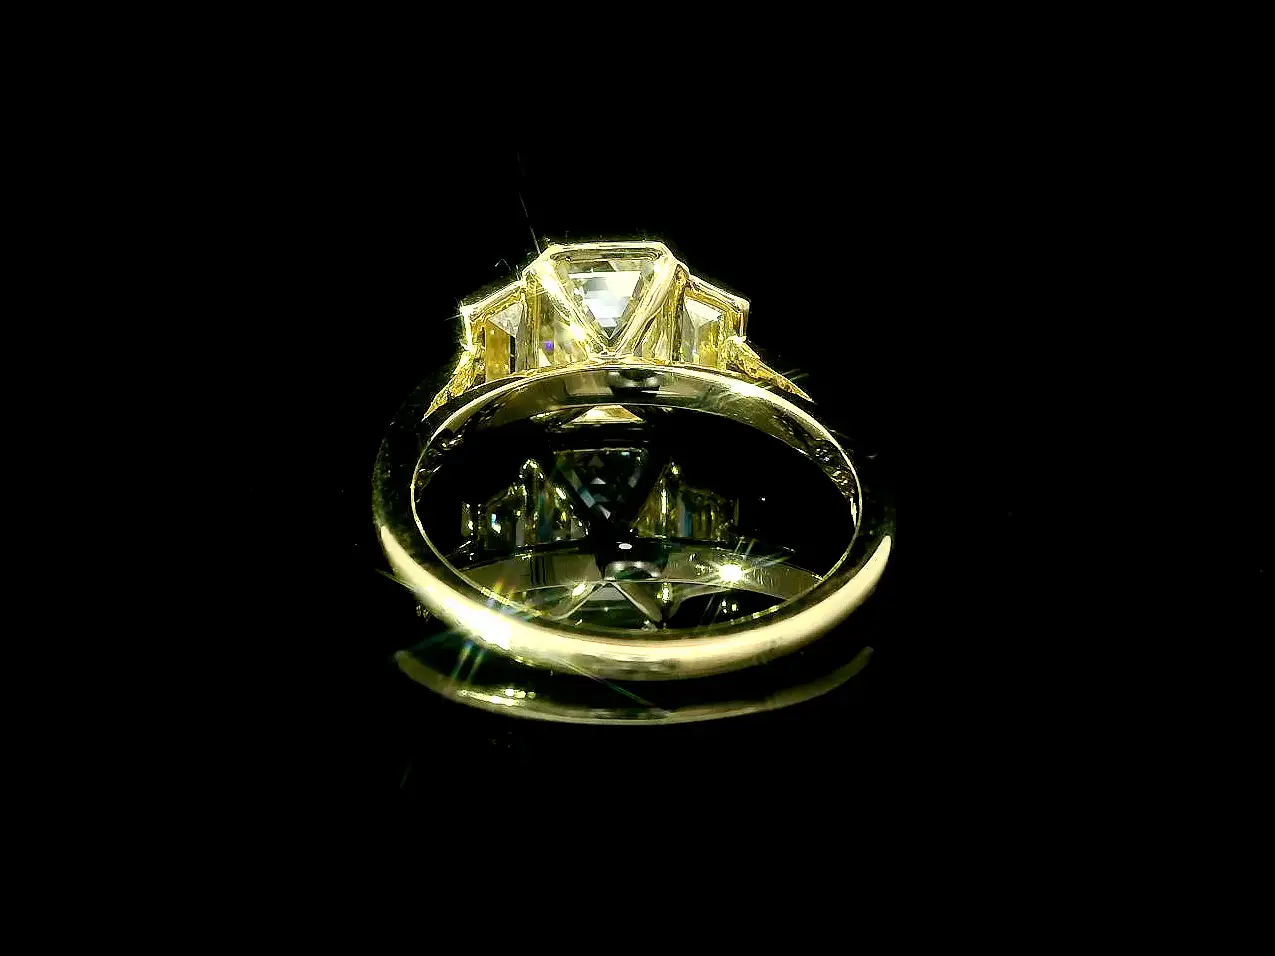
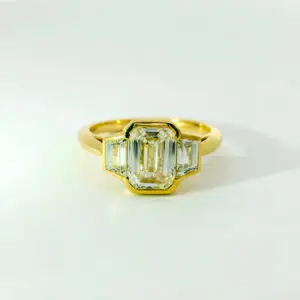
A 1.5-carat emerald-cut diamond sits front and center, framed by two 0.45-carat trapezoid side stones for a look that’s structured, balanced, and timelessly bold. The sleek bezel settings keep things seamless – no frills, just sharp, uninterrupted brilliance.
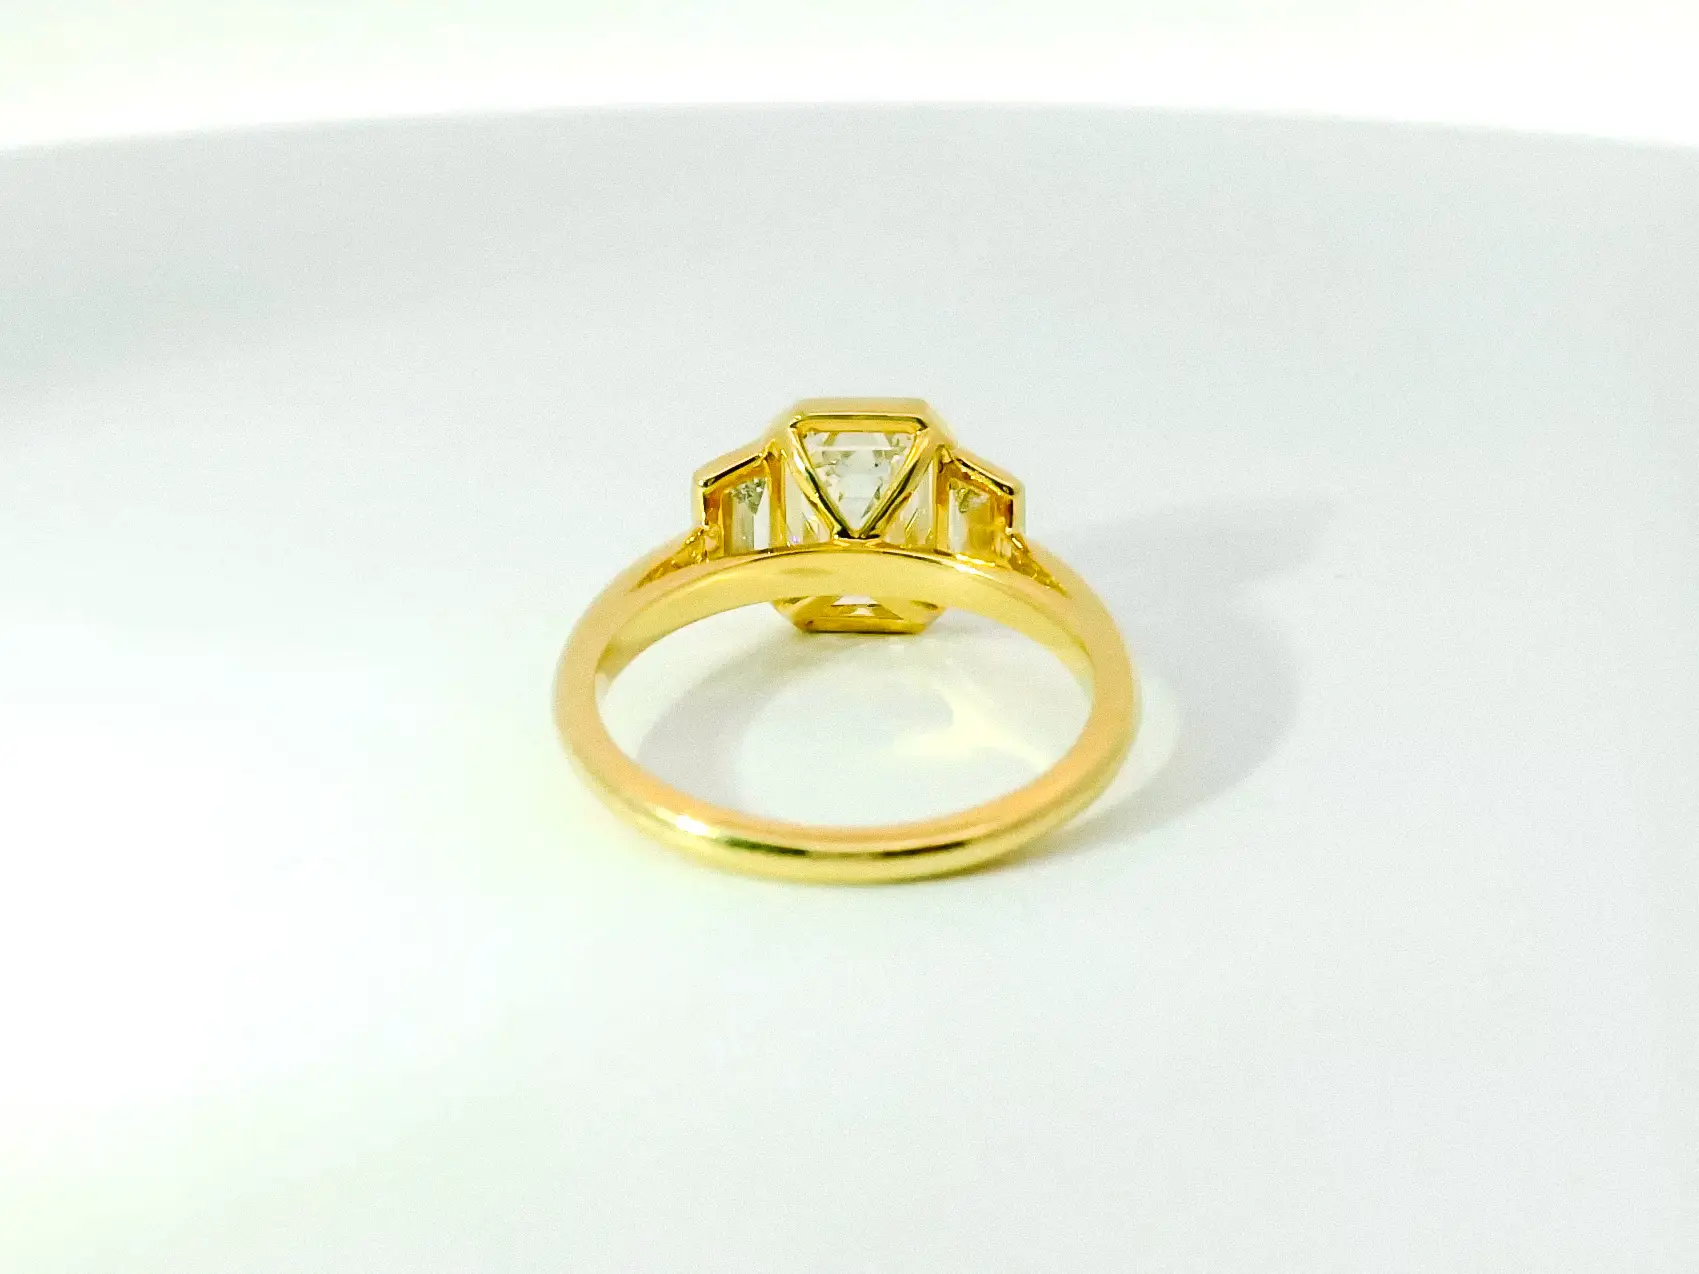
The 14k yellow gold band is slim, deliberately understated to let the diamonds do the talking. A cathedral-set open basket maximizes light from every angle, making sure Kate doesn’t just sit there: she glows. At 5.6mm high, she stacks beautifully… but holds her own just fine as a solo piece. Practical, striking, and built to last.
Kate is for the ones who know exactly what they want – no second-guessing, no overthinking, just a ring that looks incredible and doesn’t try too hard.
Who Is Kate?
Kate is direct, thoughtful, and impossible to shake (in a great way). She’s the friend who won’t sugarcoat things, but when push comes to shove she’ll always have your back. She listens, but she doesn’t just nod along 0 she tells you what you need to hear. Fair, strong, and quietly commanding, Kate doesn’t waste time proving herself… she just is.
When you’re buying such a beautiful piece of jewelry, knowing your ring size is essential; no one wants a ring that’s too tight to get past the knuckle, or so loose it ends up in the sink drain. With these techniques and tips, you can measure your finger like a pro – no awkward jeweller visits required.
1. Using an Existing Ring
If you already have a ring that fits perfectly, this method is your best bet:
- Trace the Inner Circumference: Place your ring on a piece of paper and carefully trace the inner edge with a fine-tipped pen. Precision is key here!
- Measure the Diameter: Use a ruler or tape measure to determine the distance across the widest part of the circle. Match this to our size chart below.
- Pro Tip: Use digital calipers for hyper-accurate measurements. Borrow one from a handy friend or pick up an inexpensive one online.
2. Using String or Paper
For a quick and easy DIY option, grab a piece of string, dental floss, or paper: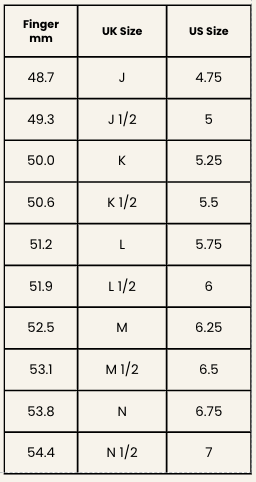
- Wrap and Mark: Wrap it around the base of your finger (where the ring will sit), mark where the ends meet, and then measure the length with a ruler.
- Watch Your Tension: It should be snug but not tight. Too loose, and your ring might slip off; too tight, and it won’t slide past your knuckle.
- Pro Tip: Repeat this method a few times to ensure consistency. Temperature and time of day can affect your finger size—fingers tend to swell in the evening or when warm.
3. Using a Finger Sizer
Invest in an inexpensive plastic finger sizer (or request one from us):
- Easy Read: Pull the end through the loop, snug it around your finger, and note the size.
- Test the Knuckle Fit: Your ring size should slide snugly over your knuckle without excessive force. If you’re between sizes, opt for the larger one.
- Pro Tip: Keep the sizer handy for future jewellery adventures!
Additional Tips for Accuracy:
- Account for Time of Day: Fingers are smaller in the morning or when cold, and larger in the evening or after activity.
- Knuckle Test: If your knuckles are wider than the base of your finger, measure both and choose a size that balances the two. Comfort-fit bands are a great solution for this.
- Consider the Band: Wider bands fit snugger than narrow ones. If your chosen ring is wide, you might want to size up slightly.
- Repeat for Assurance: It never hurts to double-check your size using more than one method.