Some rings shout for attention. Olivia? It’s already hers.
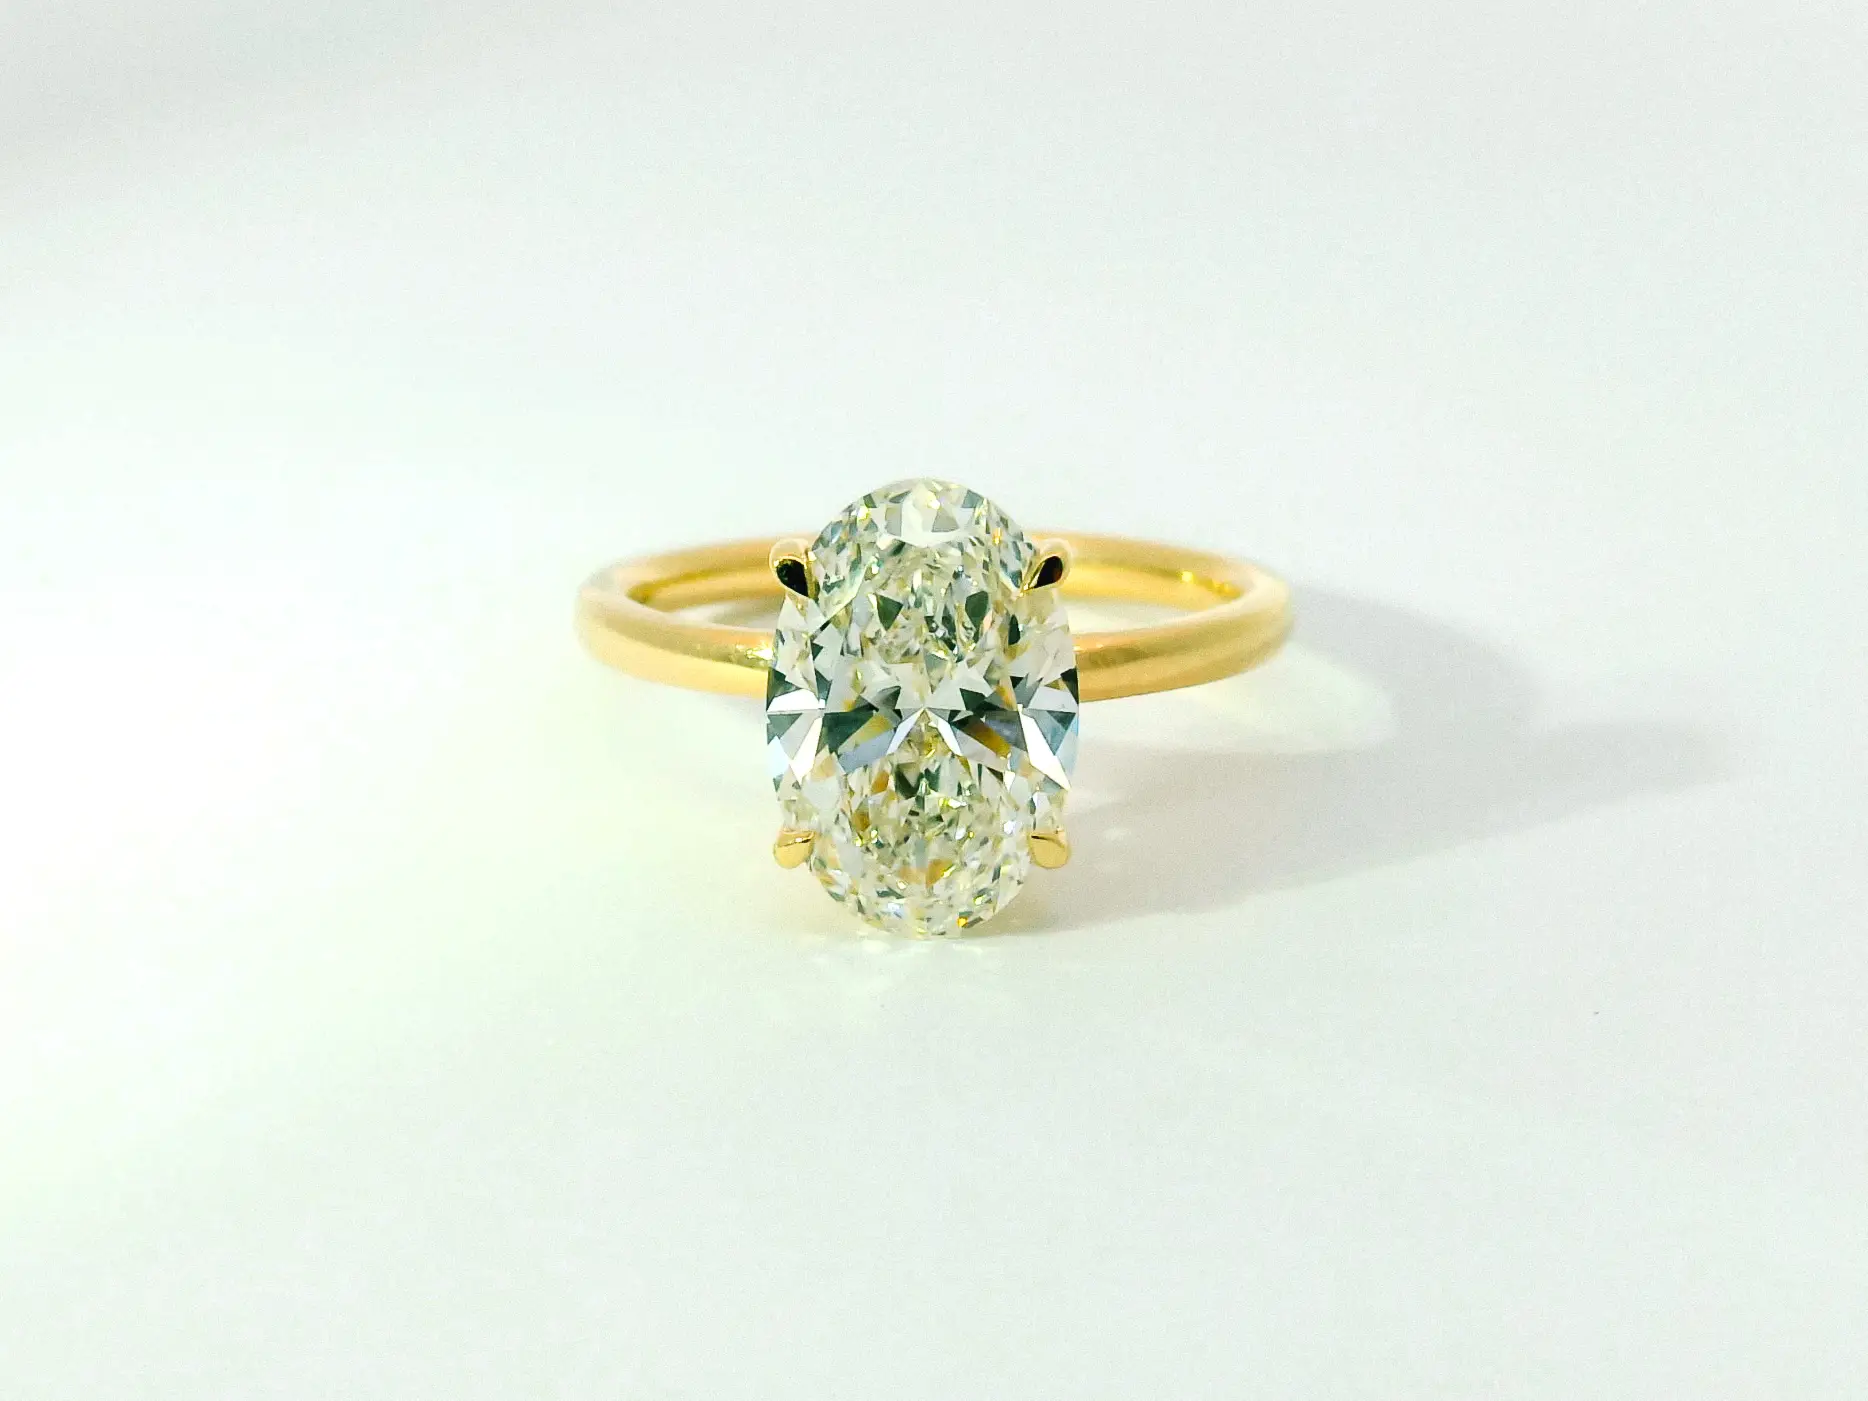
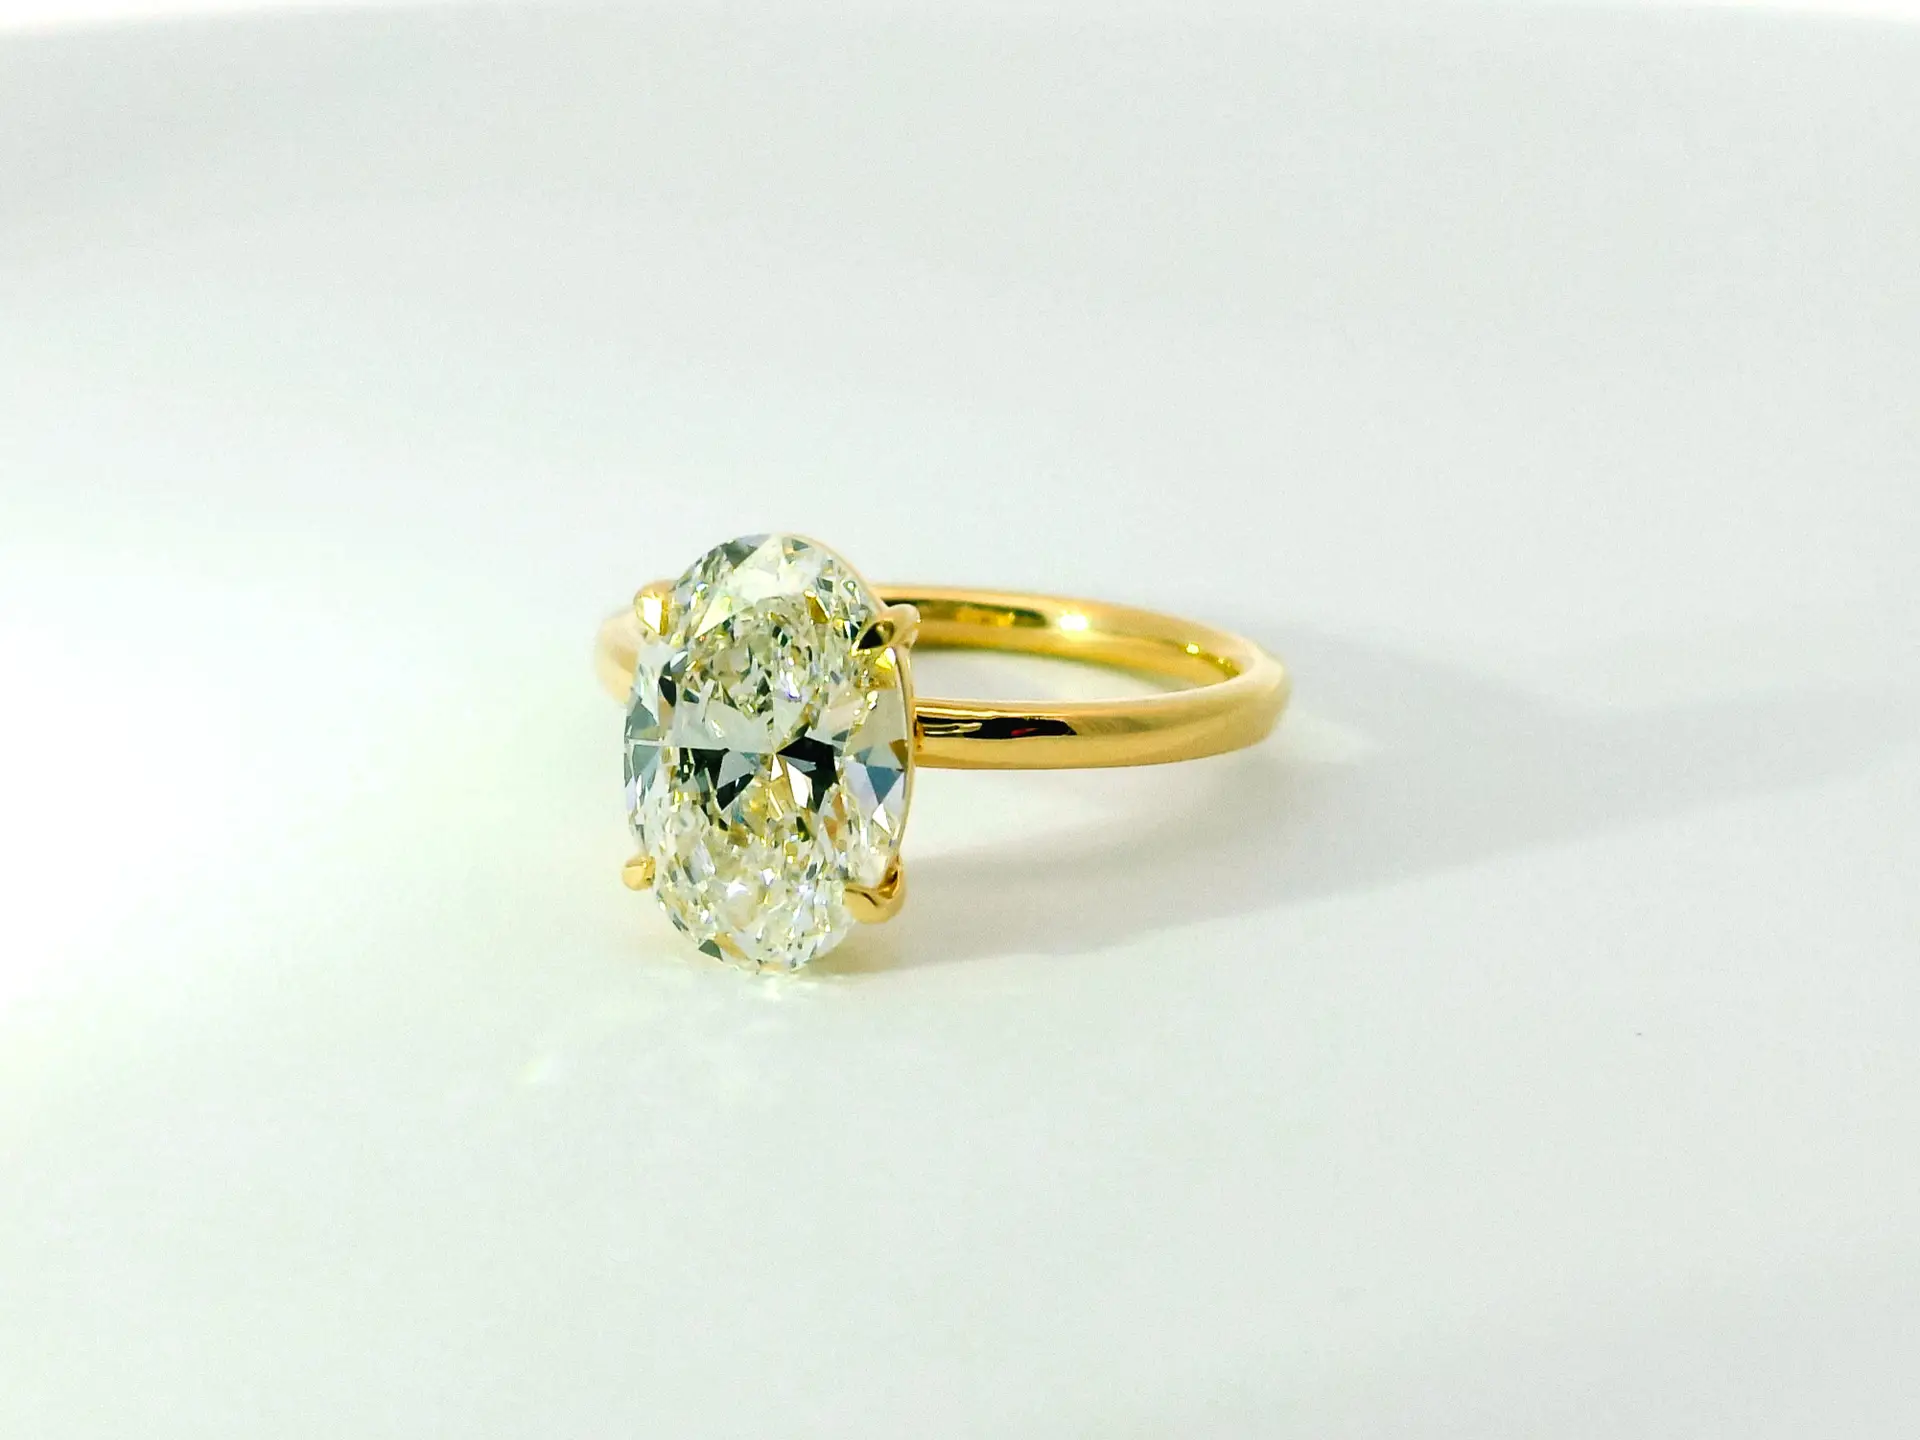
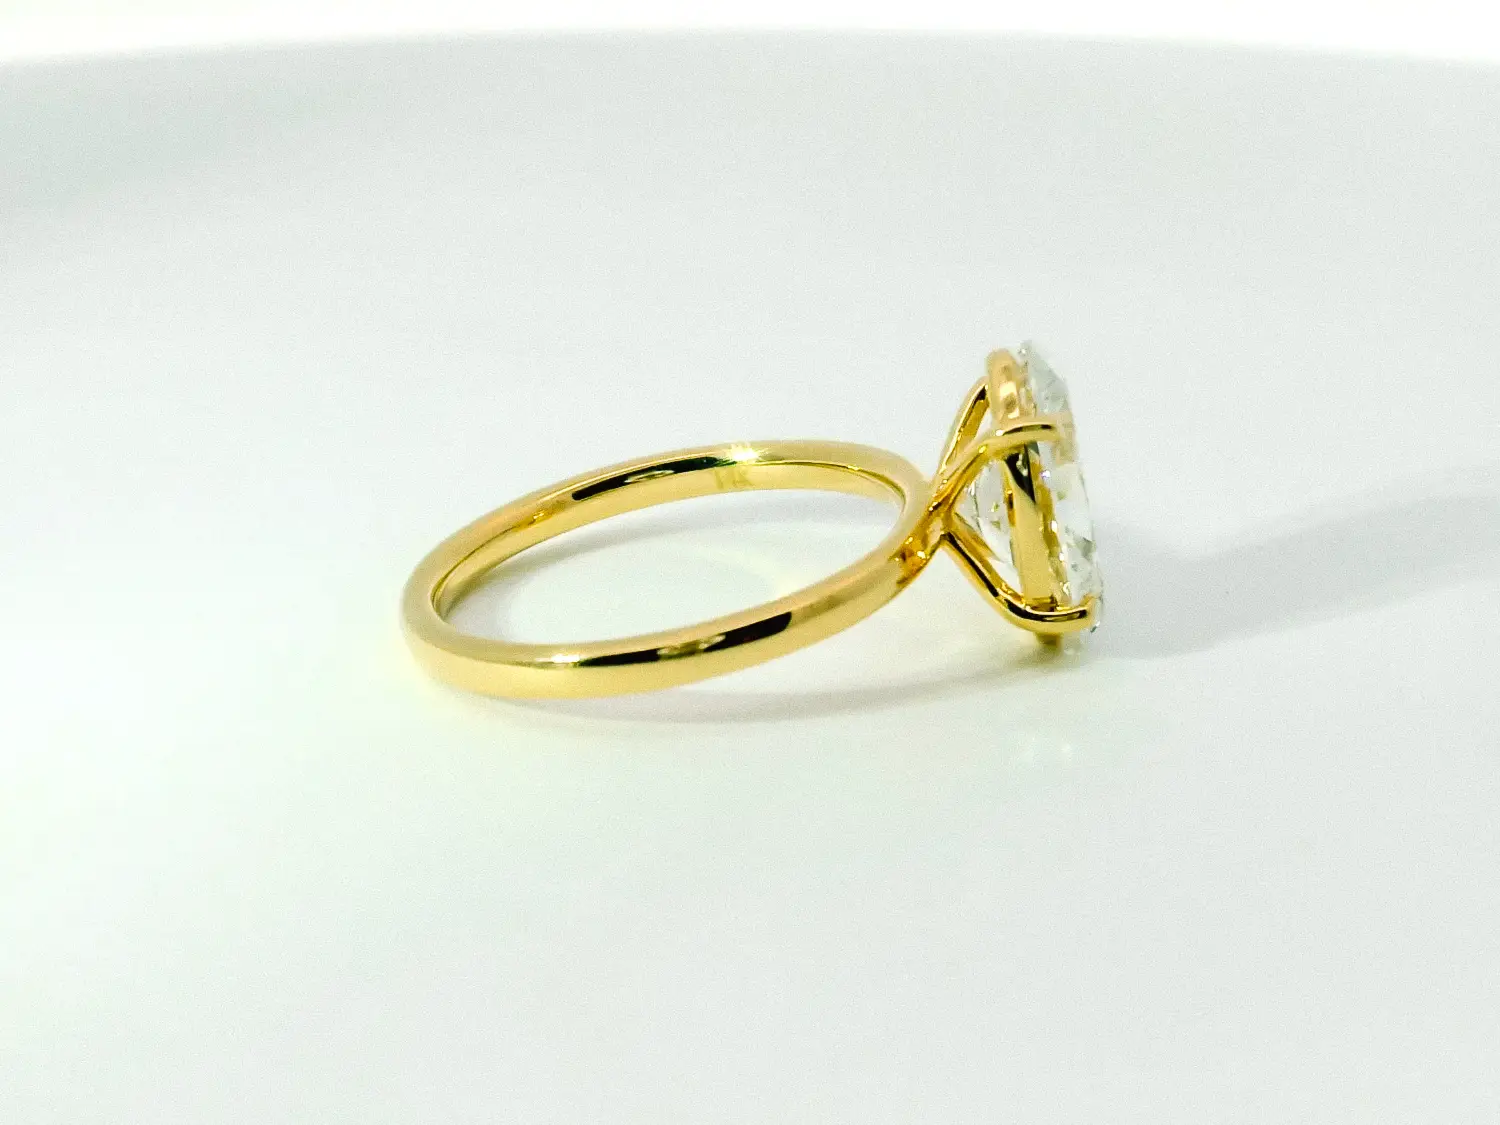
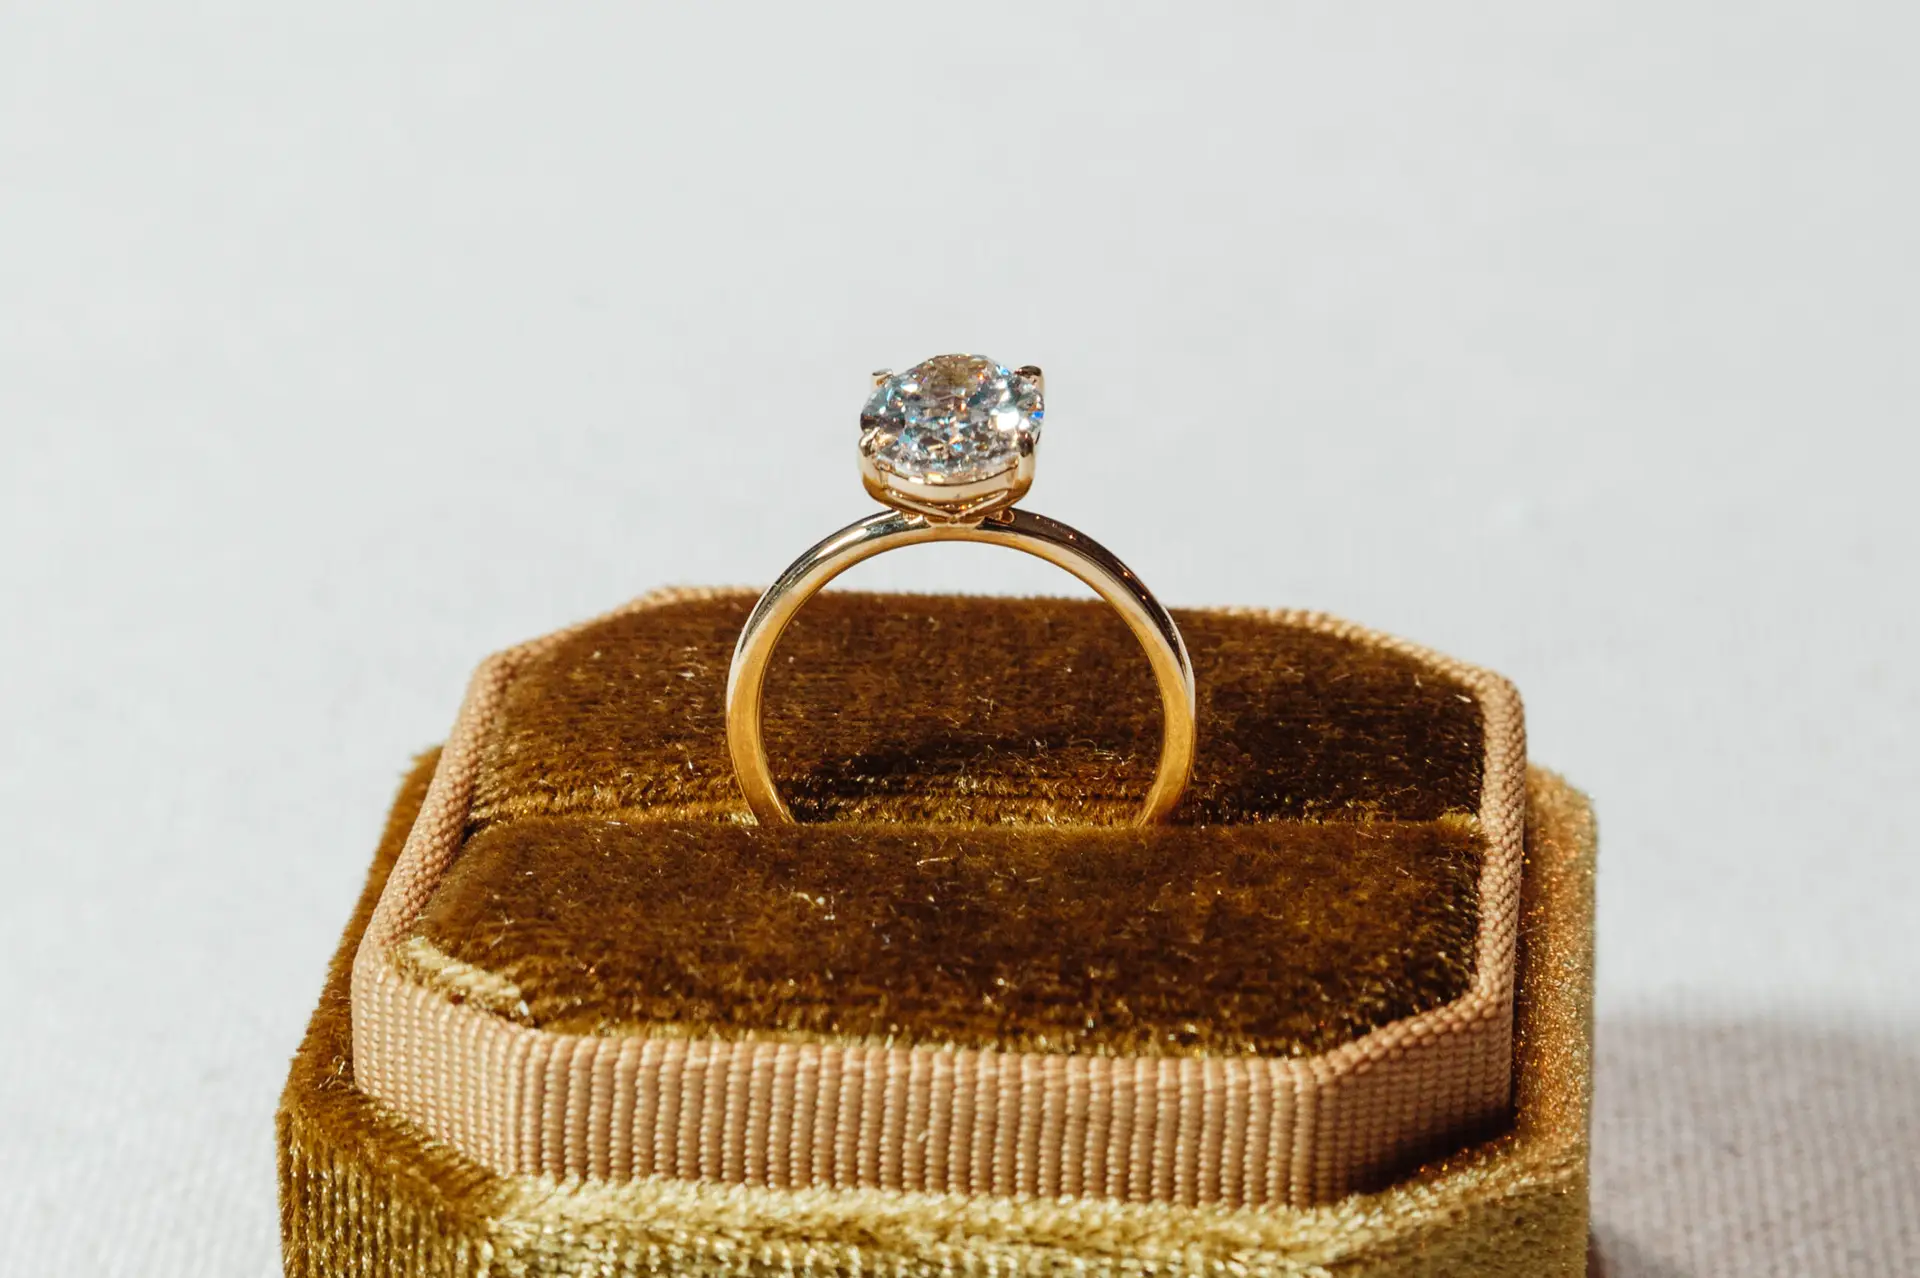
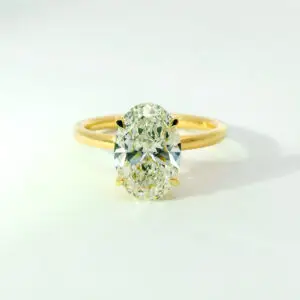
With a 2-carat oval brilliant diamond held in dainty yet durable petite prongs, she’s all about understated luxury. Elevated just enough to stack seamlessly with your favourite bands, Olivia adapts, evolves, and always looks impeccable – the best kind of plus-one.
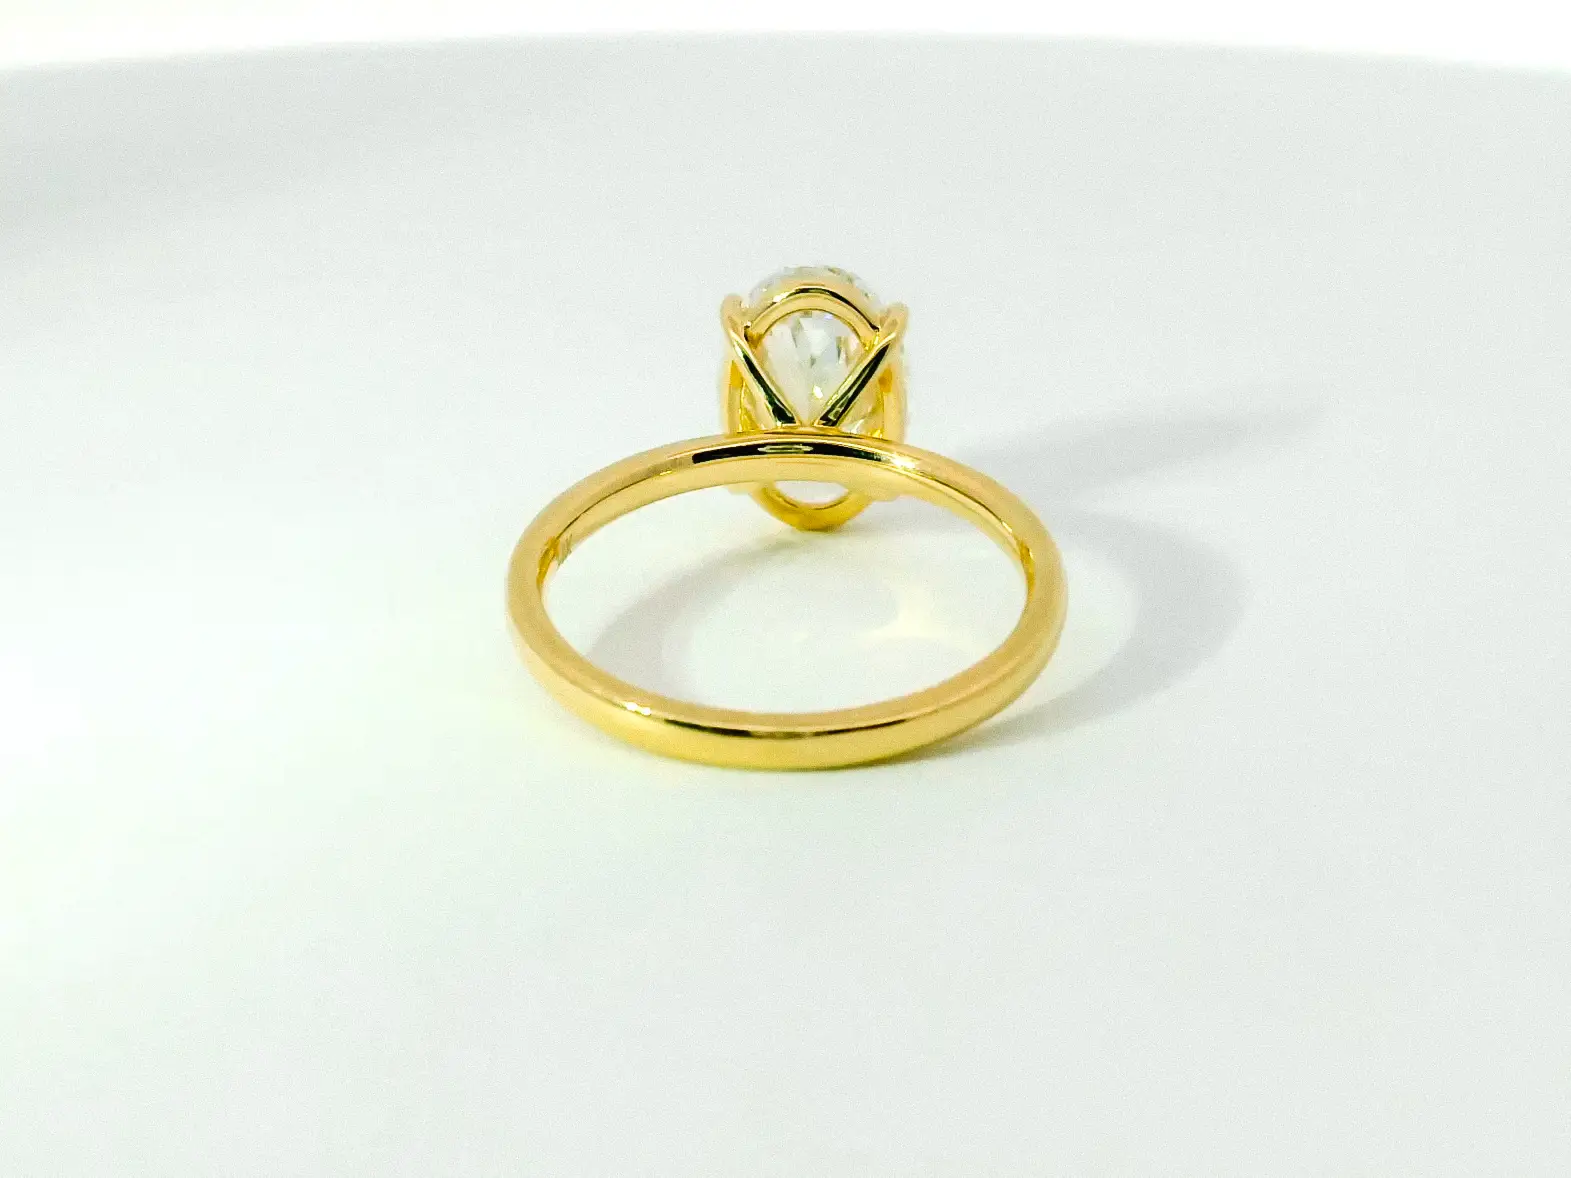
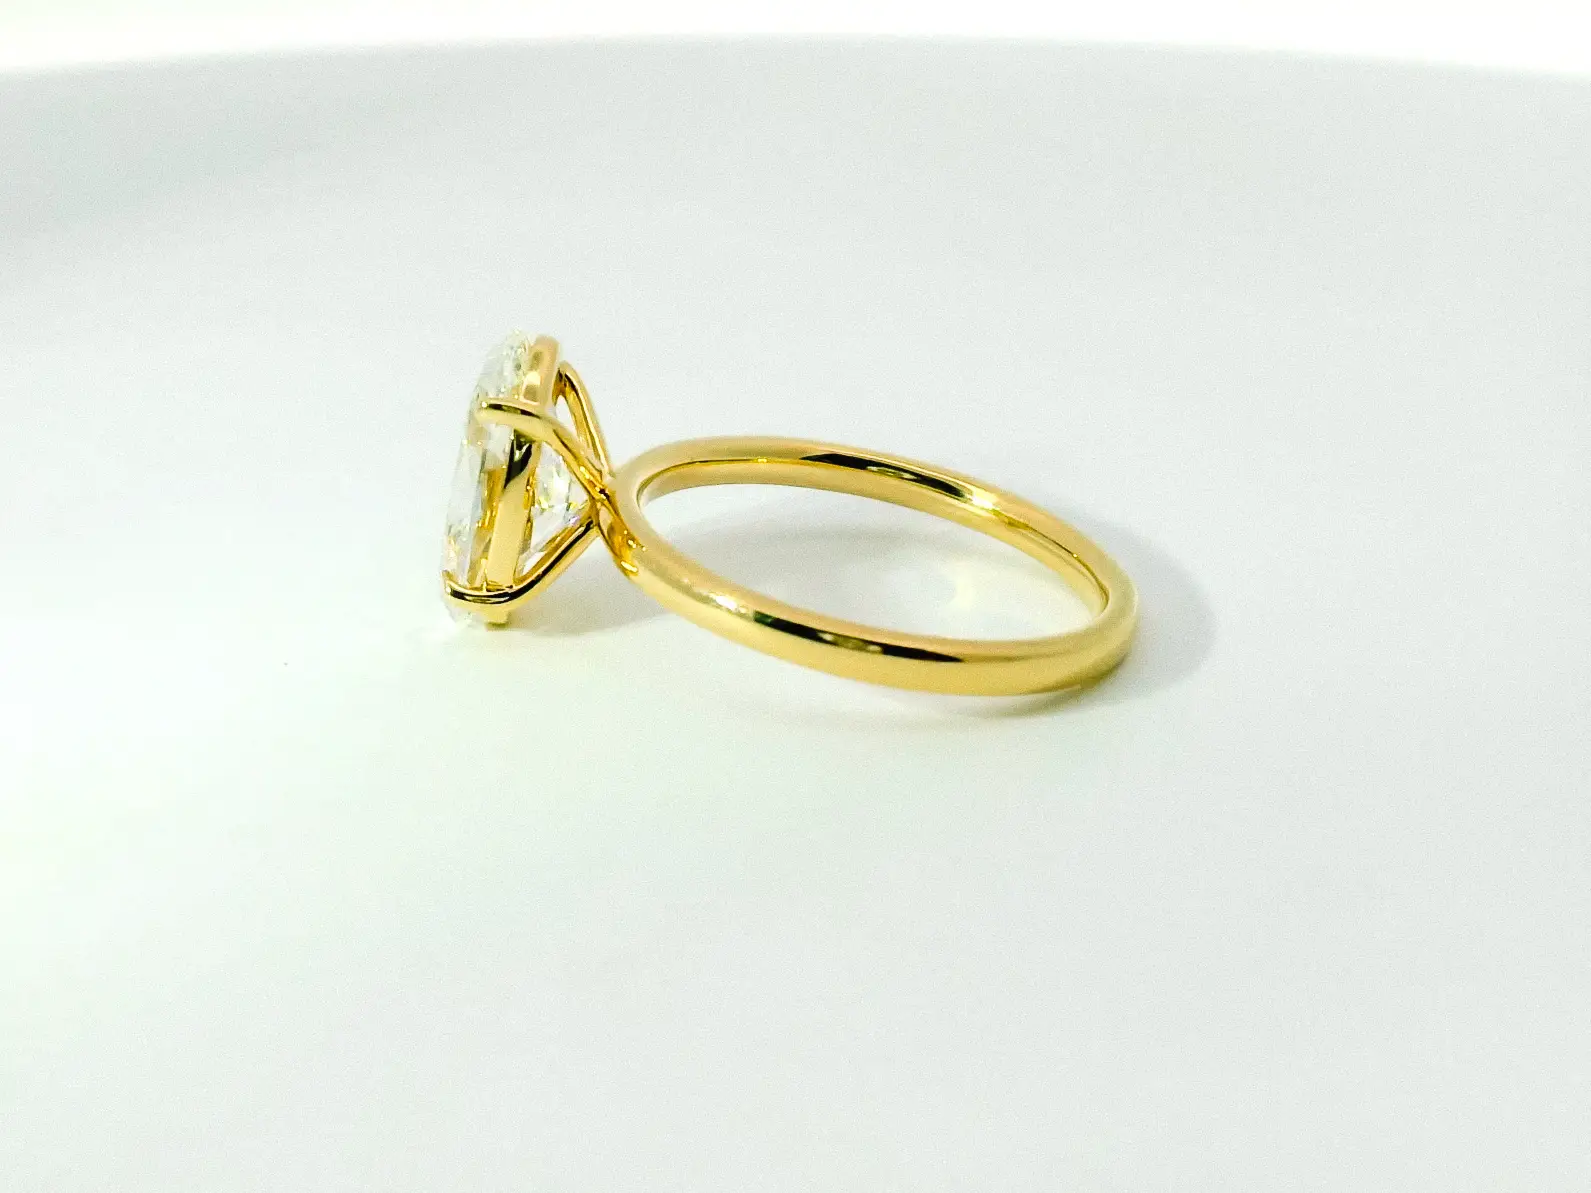
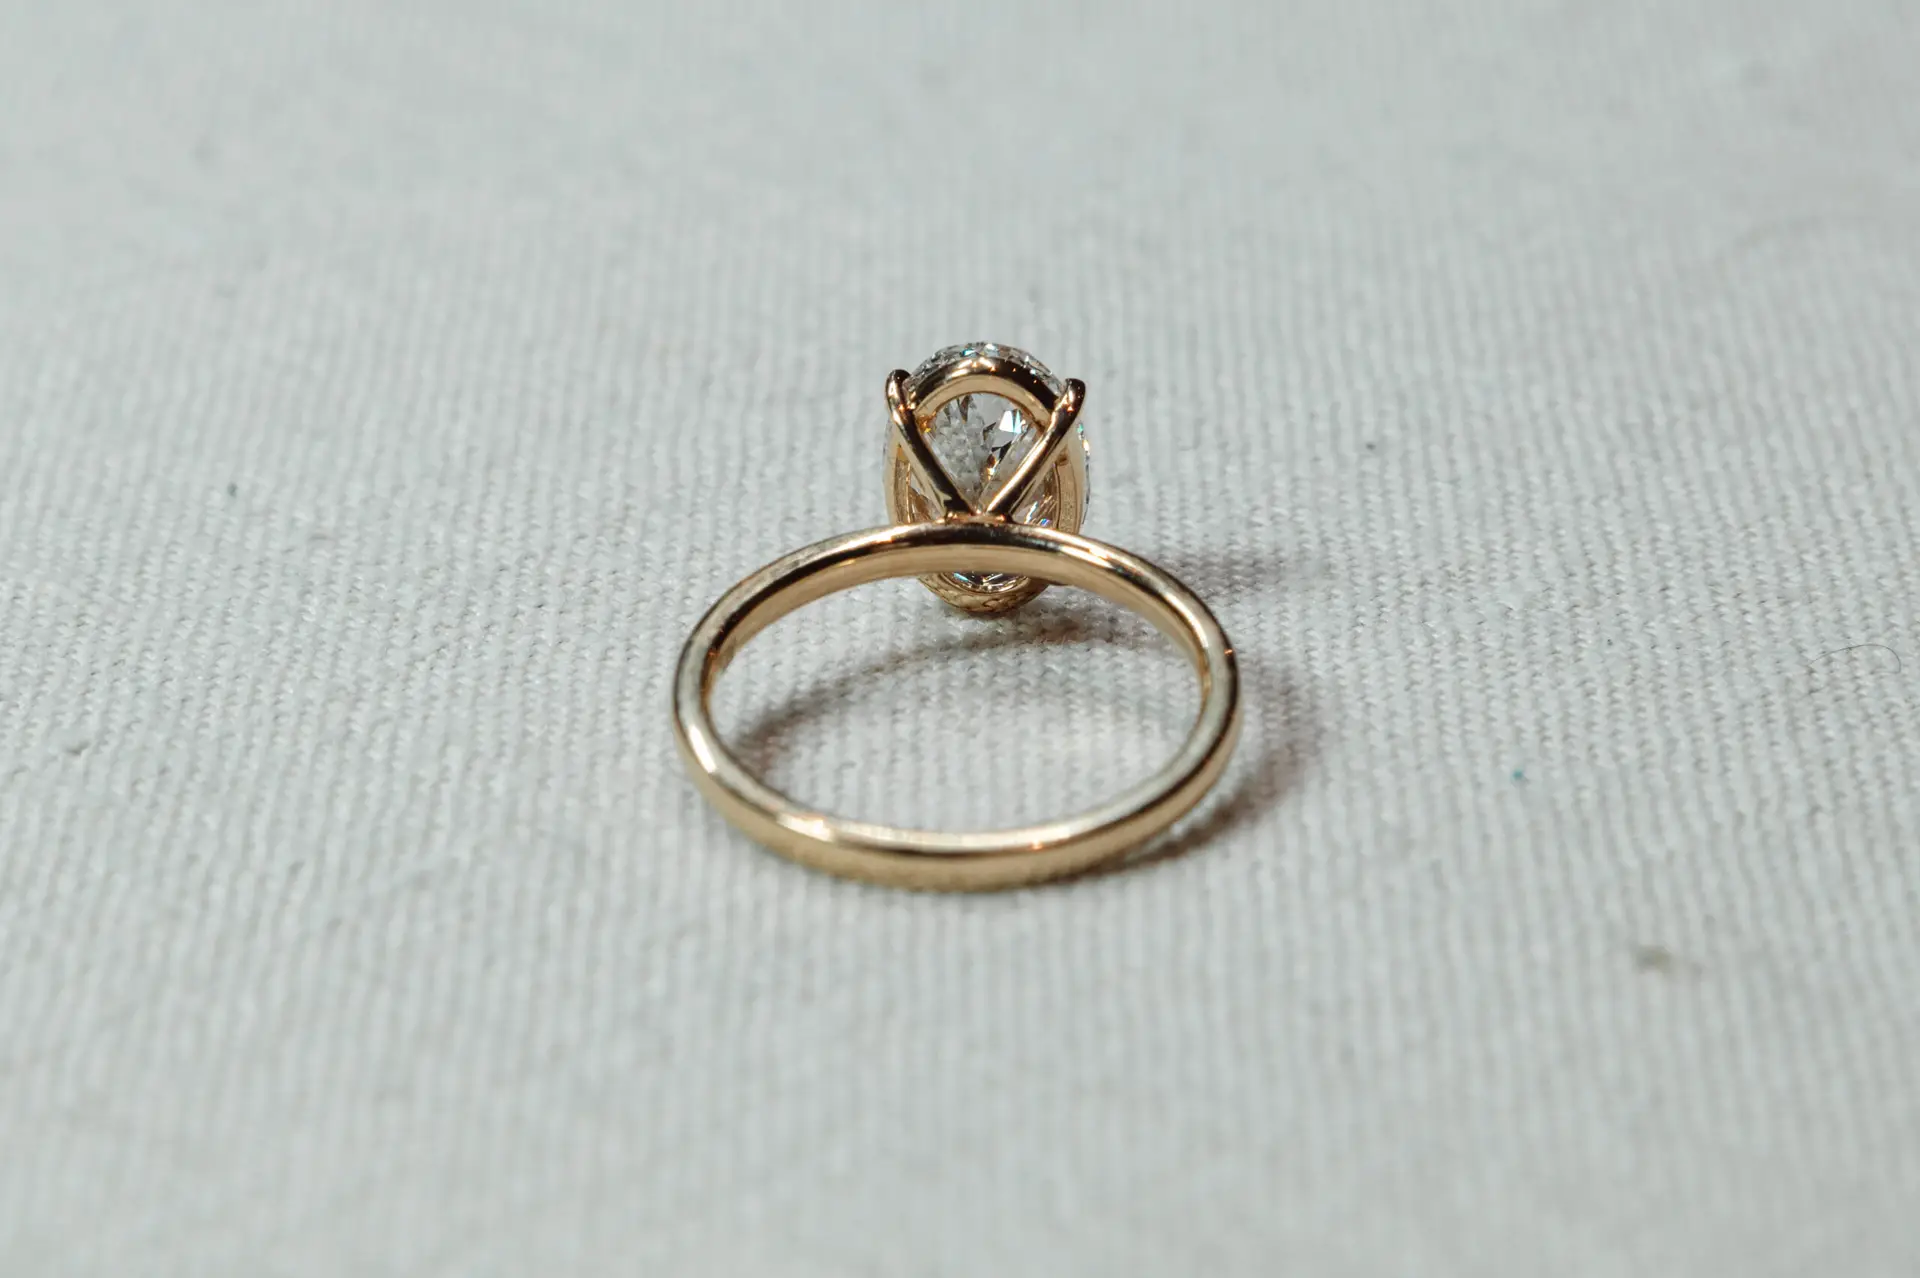
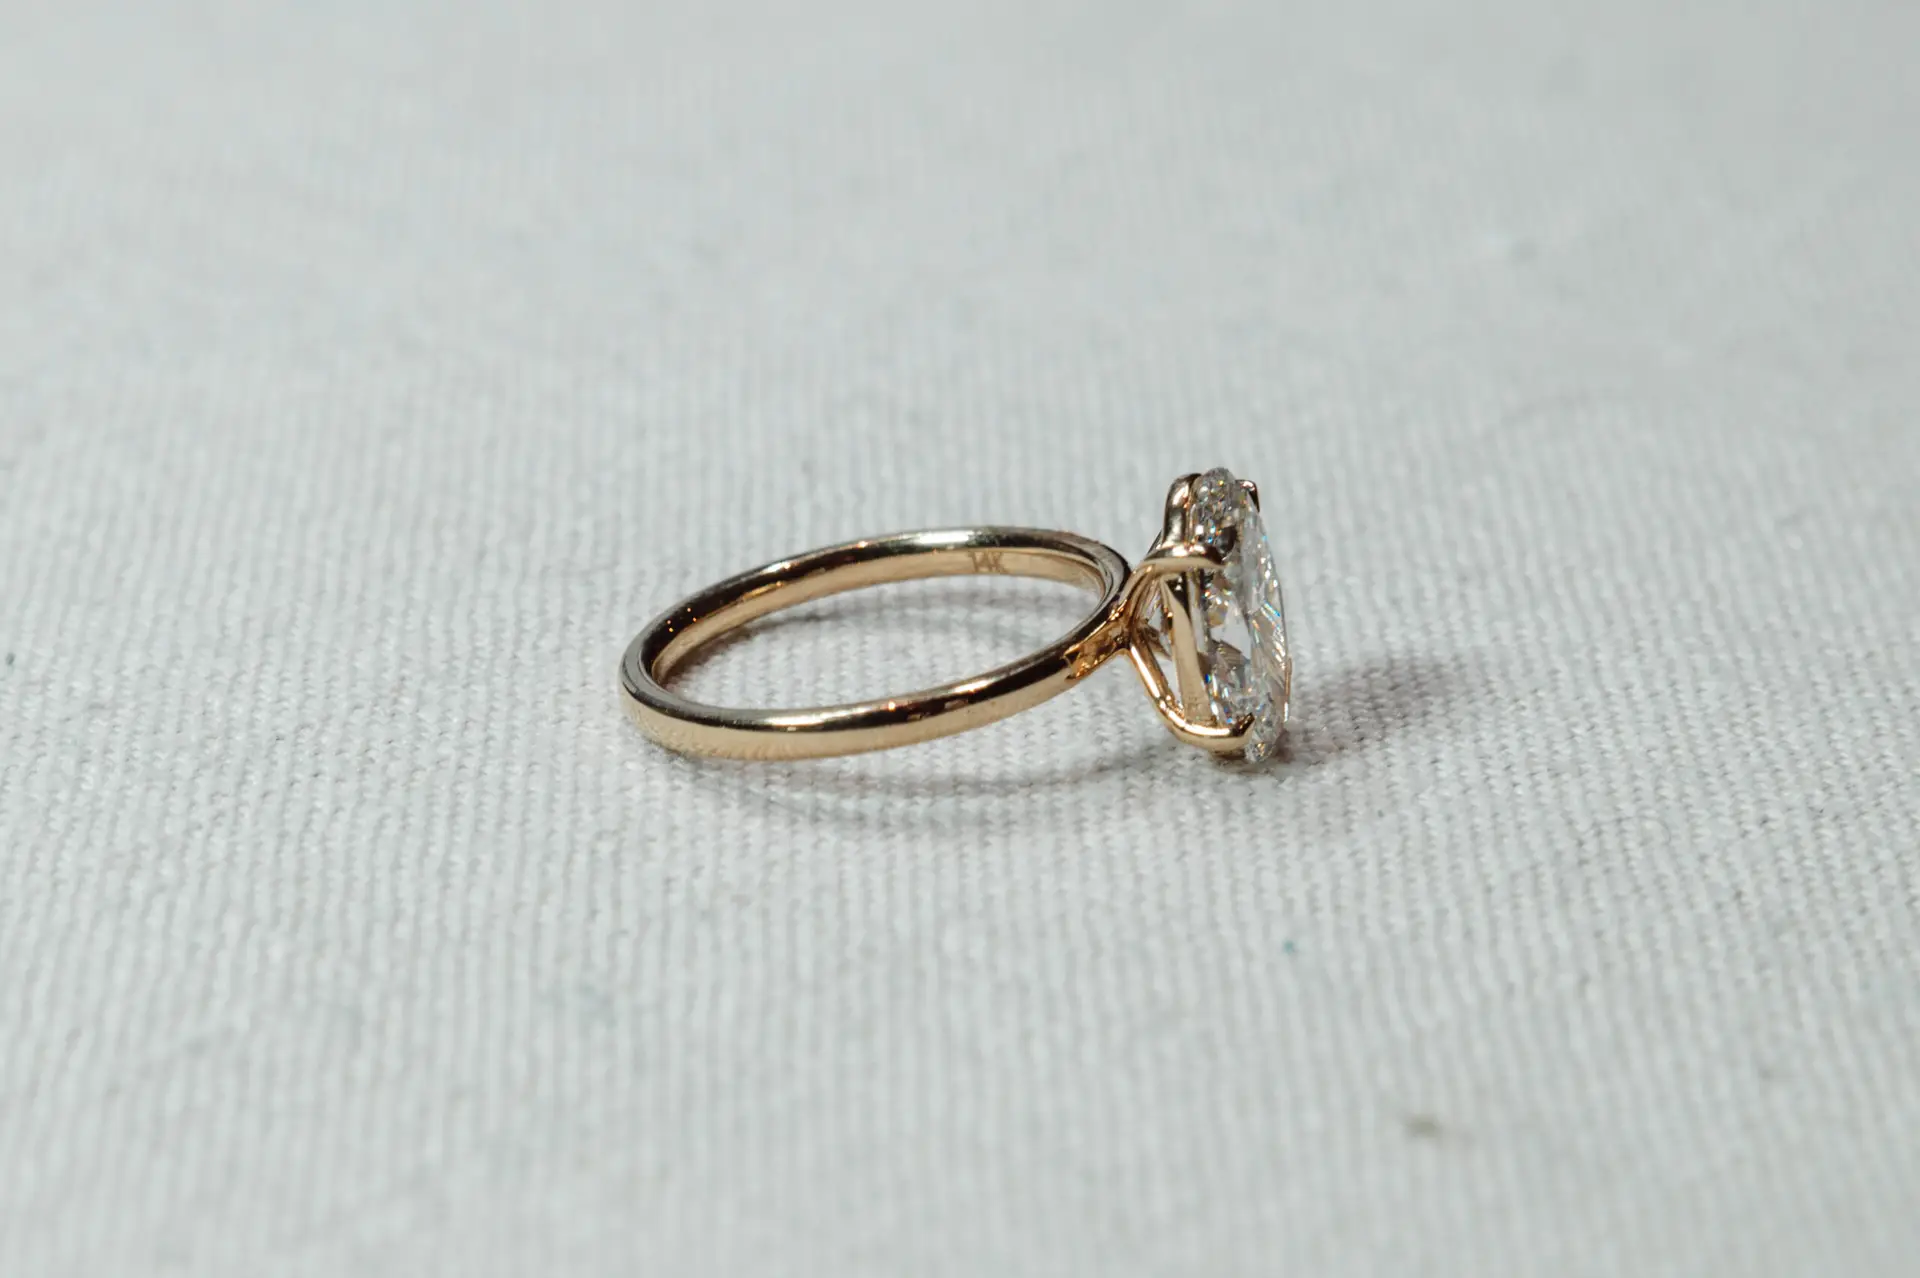
Her 1.8mm rounded yellow gold band and minimalist basket setting strike the perfect balance between refinement and wearability. No fuss, no distractions… just clean lines, timeless appeal, and a structure designed to stand the test of time.
But don’t let the simplicity fool you; Olivia knows how to mix things up. Customise her with your choice of prongs, a tulip basket, or even a bezel setting to make her unmistakably yours. After all, true style is about making your own rules.
Who Is Olivia?
Olivia is the friend who just gets you: the one who turns bad days around, knows when to bring wine or wise advice (or both), and somehow always finds the best spot in a crowded restaurant. She’s effortlessly cool, quietly confident, and full of warmth.
Olivia lights up every room (or finger), and if she lets you call her Liv? That’s how you know she’s yours for life.
When you’re buying such a beautiful piece of jewelry, knowing your ring size is essential; no one wants a ring that’s too tight to get past the knuckle, or so loose it ends up in the sink drain. With these techniques and tips, you can measure your finger like a pro – no awkward jeweller visits required.
1. Using an Existing Ring
If you already have a ring that fits perfectly, this method is your best bet:
- Trace the Inner Circumference: Place your ring on a piece of paper and carefully trace the inner edge with a fine-tipped pen. Precision is key here!
- Measure the Diameter: Use a ruler or tape measure to determine the distance across the widest part of the circle. Match this to our size chart below.
- Pro Tip: Use digital calipers for hyper-accurate measurements. Borrow one from a handy friend or pick up an inexpensive one online.
2. Using String or Paper
For a quick and easy DIY option, grab a piece of string, dental floss, or paper: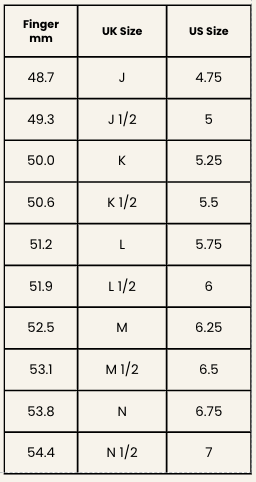
- Wrap and Mark: Wrap it around the base of your finger (where the ring will sit), mark where the ends meet, and then measure the length with a ruler.
- Watch Your Tension: It should be snug but not tight. Too loose, and your ring might slip off; too tight, and it won’t slide past your knuckle.
- Pro Tip: Repeat this method a few times to ensure consistency. Temperature and time of day can affect your finger size—fingers tend to swell in the evening or when warm.
3. Using a Finger Sizer
Invest in an inexpensive plastic finger sizer (or request one from us):
- Easy Read: Pull the end through the loop, snug it around your finger, and note the size.
- Test the Knuckle Fit: Your ring size should slide snugly over your knuckle without excessive force. If you’re between sizes, opt for the larger one.
- Pro Tip: Keep the sizer handy for future jewellery adventures!
Additional Tips for Accuracy:
- Account for Time of Day: Fingers are smaller in the morning or when cold, and larger in the evening or after activity.
- Knuckle Test: If your knuckles are wider than the base of your finger, measure both and choose a size that balances the two. Comfort-fit bands are a great solution for this.
- Consider the Band: Wider bands fit snugger than narrow ones. If your chosen ring is wide, you might want to size up slightly.
- Repeat for Assurance: It never hurts to double-check your size using more than one method.